Materials and Supplies
- Wood, ¾” or more thick
- Redwood or cedar works best (pine is acceptable if weatherproofed)
- Do not use pressure-treated wood
- Light, neutral colors of paint, stain or clear sealer may be applied on outside of box only, but is not necessary
- Nails or wood screws, not staples, should be used to hold box together
- Zinc-plated spring-loaded locking gate hook and eye or screw hook with eye hardware
- Drill and drill bit
Specific Material
- 16-20 wood screws (+2 if using screws instead of pivot nails) and 2 pivot nails
- 1 anchor nail or hook and eye locking hardware
- Approximately 36” of wood either 6 ½” or 7" wide
- Approximately 27” of wood at least 5 ½” wide
Dimensions
- Use 1 & 9/16” entry hole size due to presence of Mountain Bluebirds
- Do not add a perch
- Floor should be located 8” below the entry hole
- Roof should be slanted down with at least 2” overhang
- Box interior should be at least 5”x5” (or 5 ½” x 5 ½”)
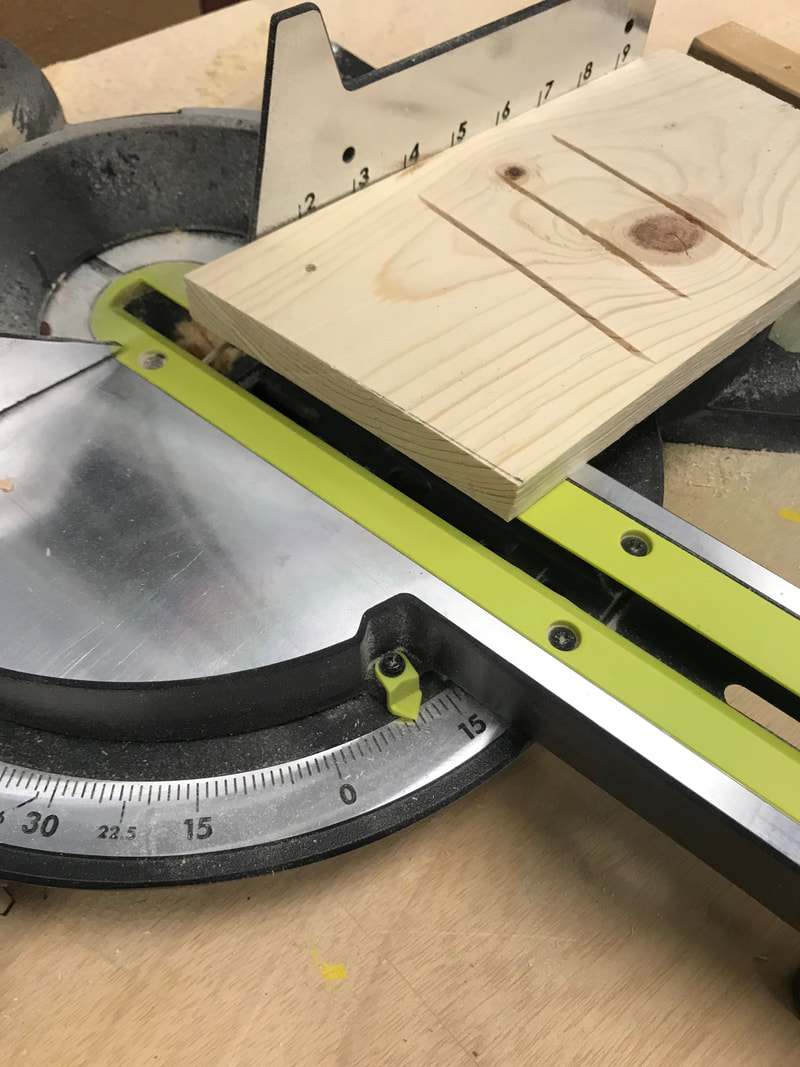
Measure and draw lines on your wood of where each cut needs to go. You can use the same piece of wood if there is enough room. Once you draw the lines, double check to make sure each measurement is correct.

Cutting the Wood
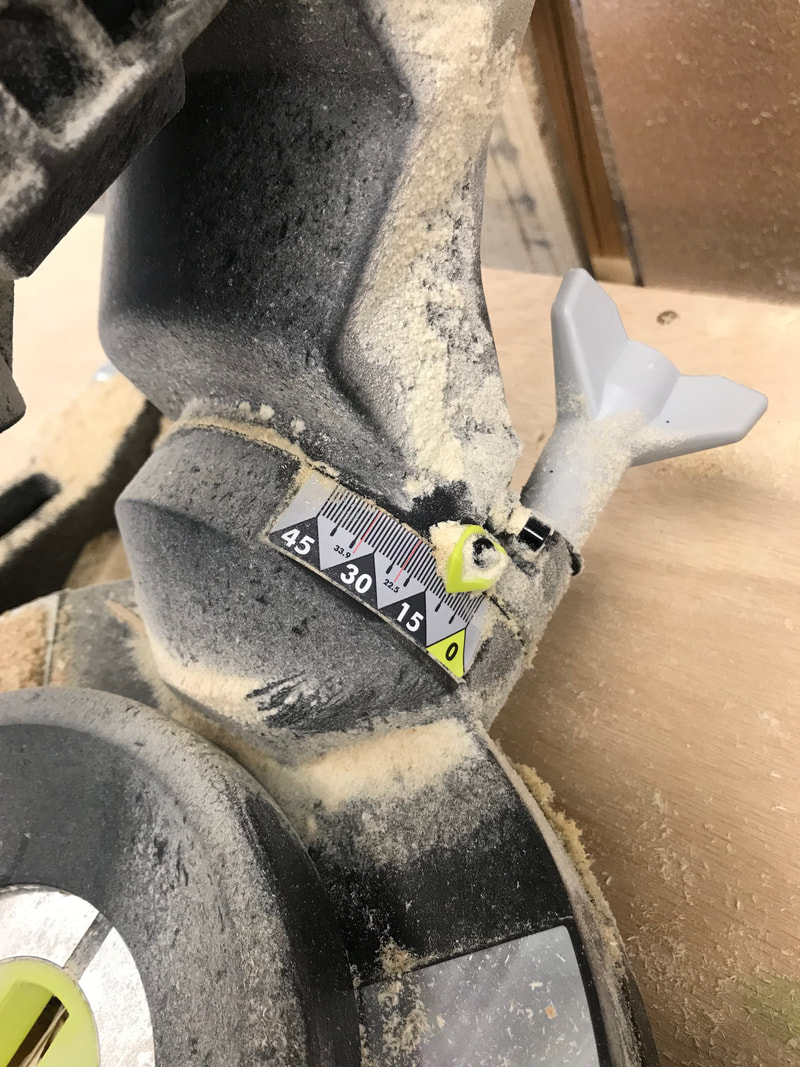
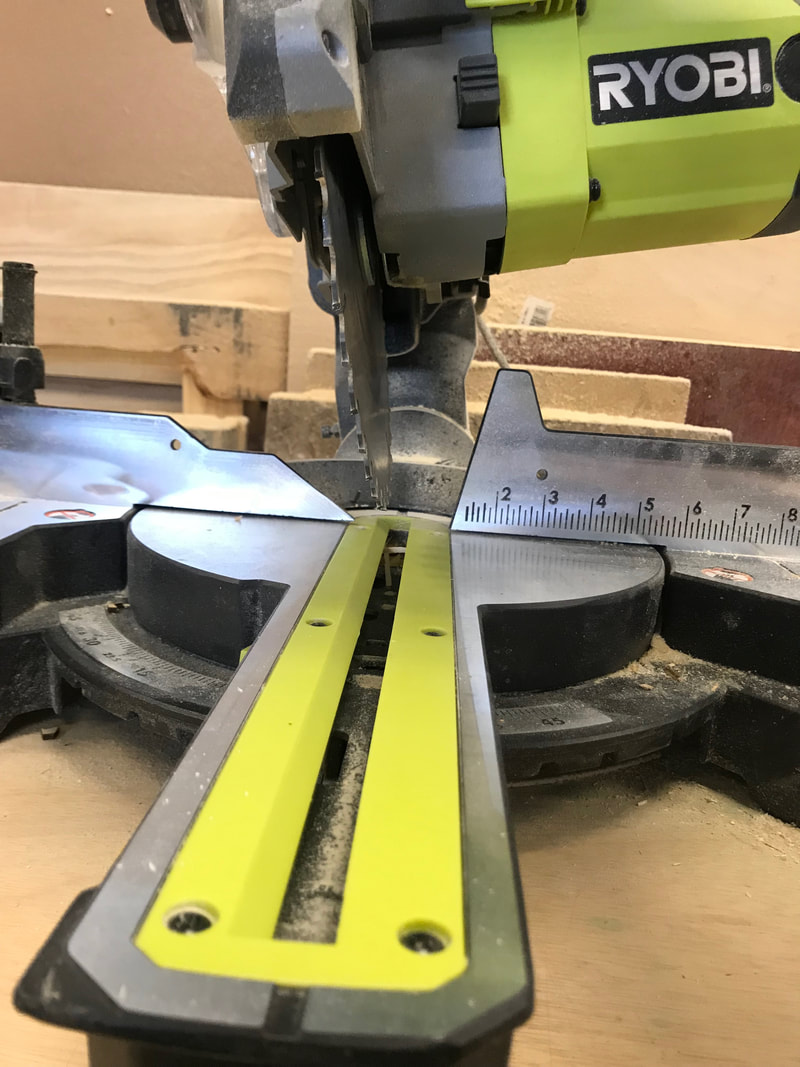
- We started by cutting the two side pieces. When cutting the angle piece, use a miter saw and put it at a 10 degree angle.
- Continue cutting out each piece of wood - the front piece, the bottom piece, the top piece and the back piece.
Click on pictures below to view full image.
Ventilation/Drainage
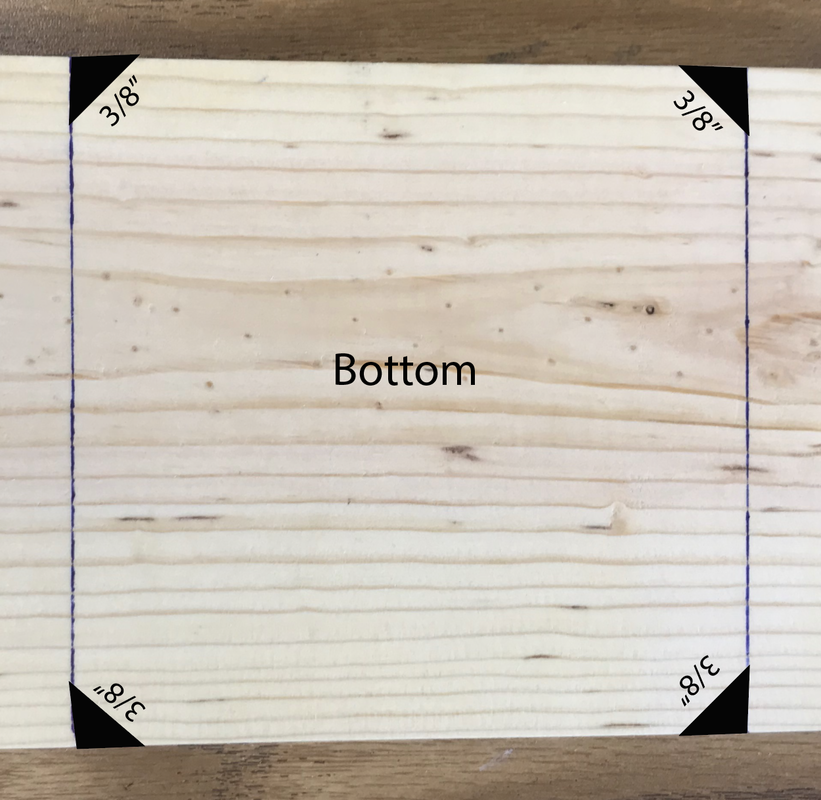
- Sand off 3/8” off each corner of bottom board for drainage
- Bottom board should be recessed so it is completely covered by the sides and front of box
- Add a vent to the pivoting side board by leaving a ¼” space below the top edge of the side panel
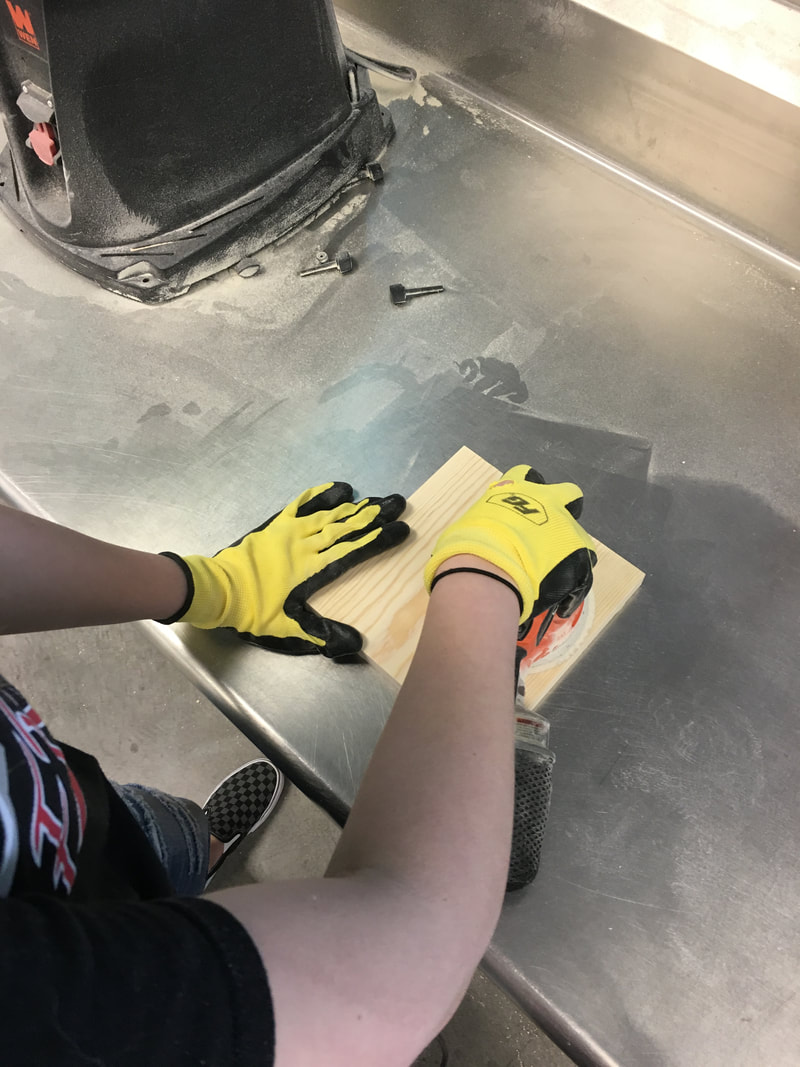
Sanding the Wood
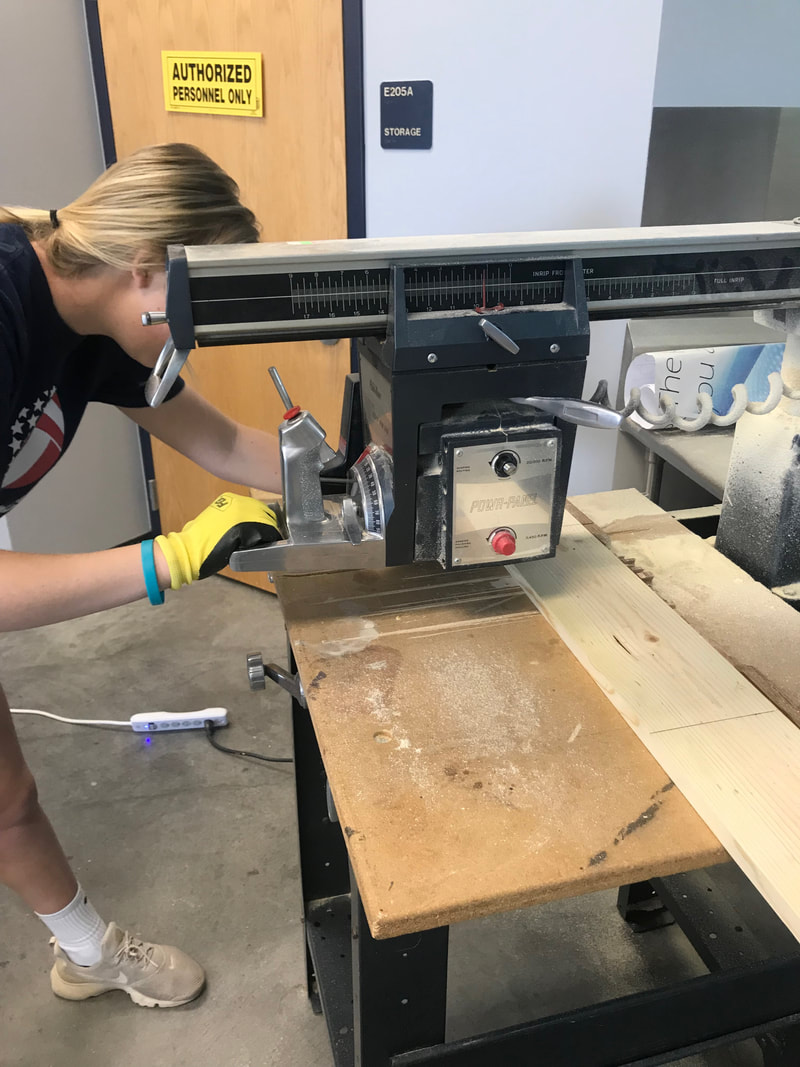
Once all cuts are made, the next step is to sand down each piece. Start by using the belt sander to sand down the sides of the wood.

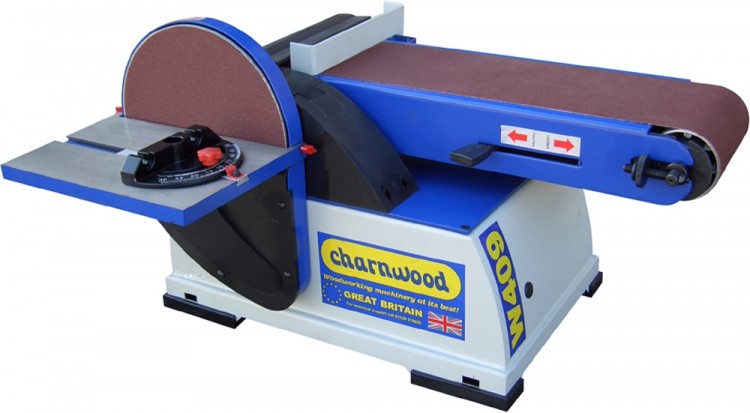
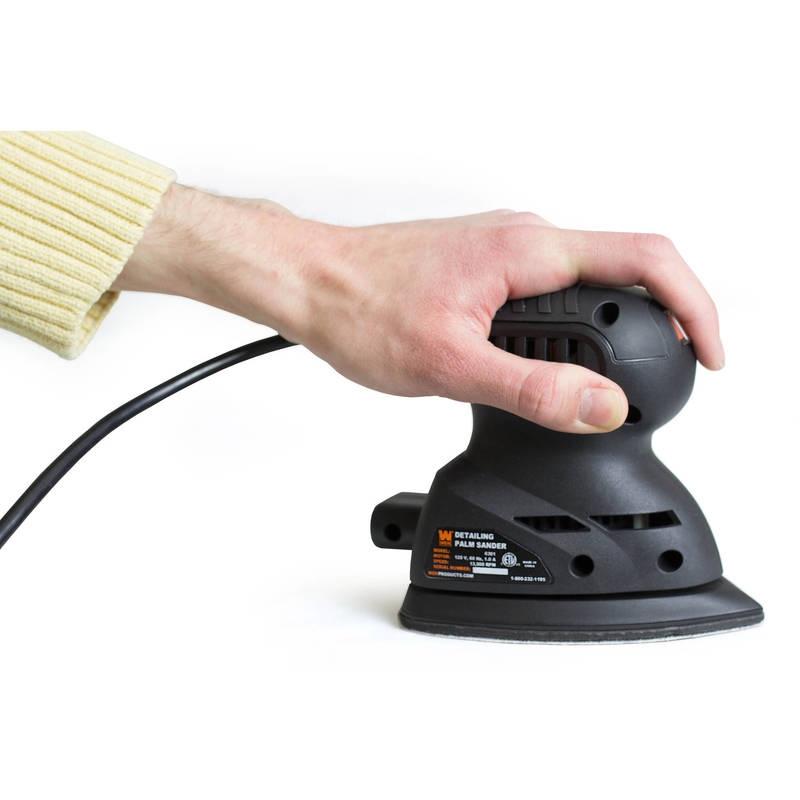
The next step is to use a hand sander to sand down the top and bottom of the wood.
Other Details
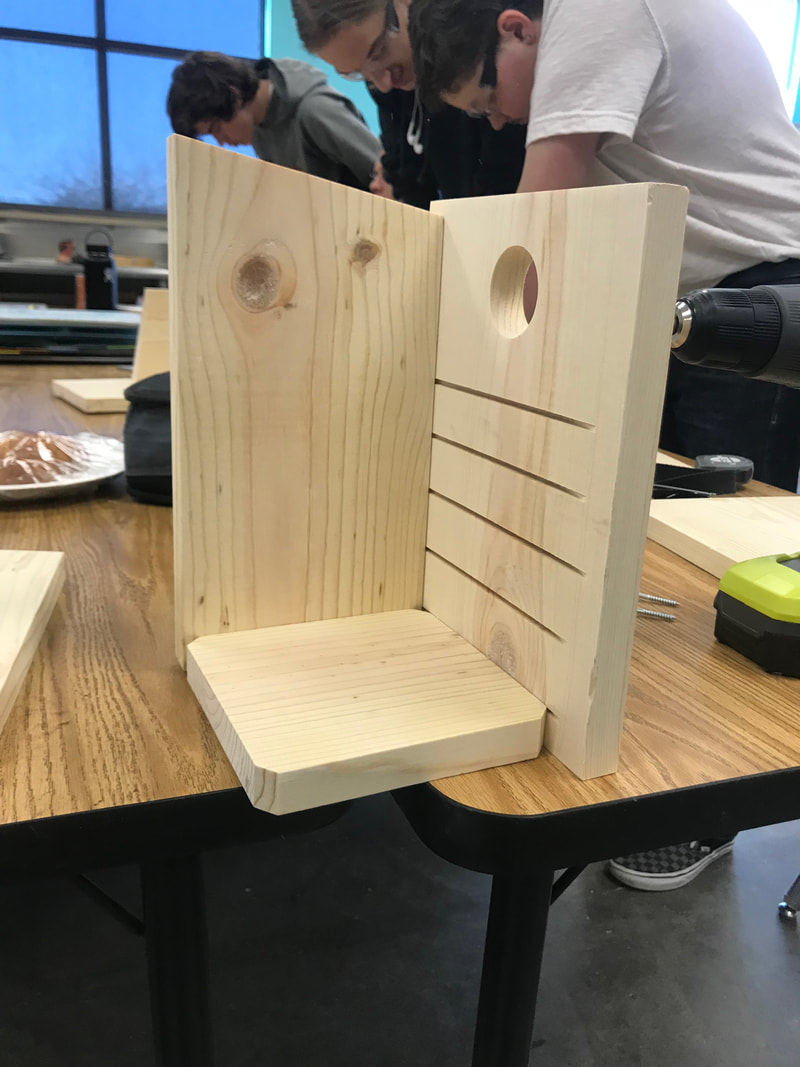
- Inside of front board should be deeply scored or kerf cut below the hole to help fledglings up to the entry hole
- Sand the inside cavity opening for a smooth entrance
- Use a miter saw to cut this piece of wood.
- The other thin you want to do is cut your hole into your front piece. Use a drill press to do this. Measure 8 inches from the bottom of the piece to mark where your hole will go.

Construction
|
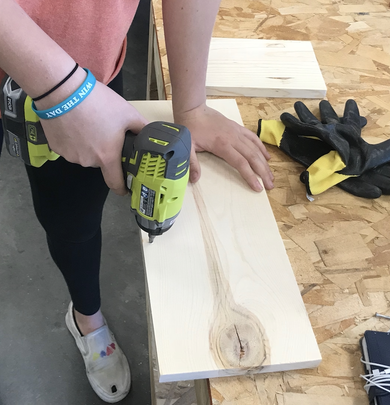
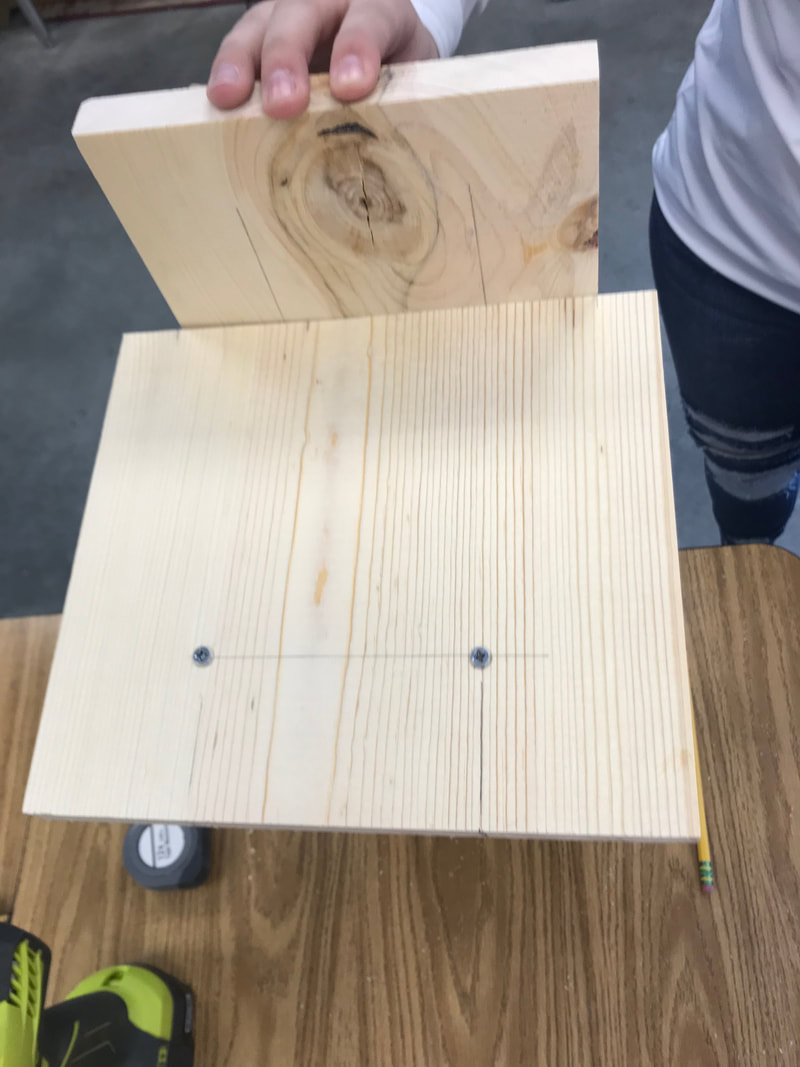
Once all pieces of wood are cut and sanded down, the next step is to build. Start by measuring 3 inches from the bottom of the back board. This is where the bottom of your bird house will start (Will see example in picture below). Before doing anything else, put your birdhouse together without any screws to line up all the pieces correctly. Once that is done, the next step is to mark the places you will be drilling. Make sure all markings are even on all sides.
Once you have all your drawn markings, you will drill pilot holes in those places. All markings and pilot holes should be evenly measured on both side. I will label each picture by steps. There will be specific instructions for the left side piece of the bird house. Follow the images below if you want to see where the pilot holes were drawn. |
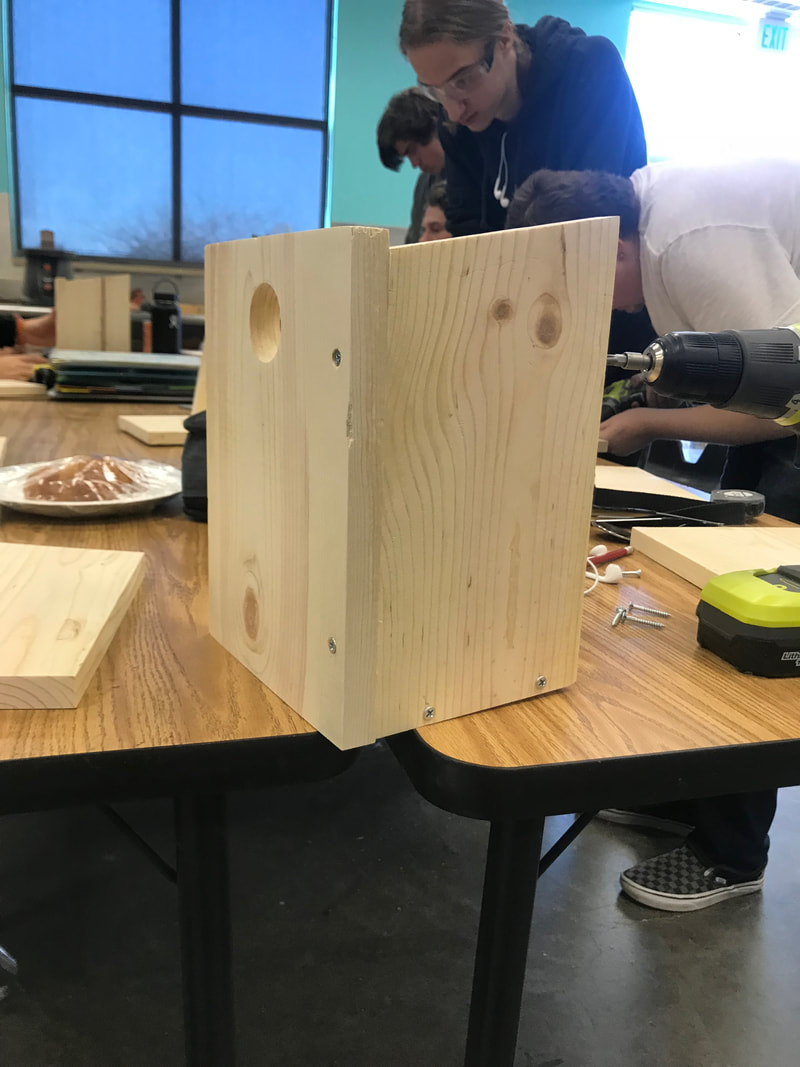
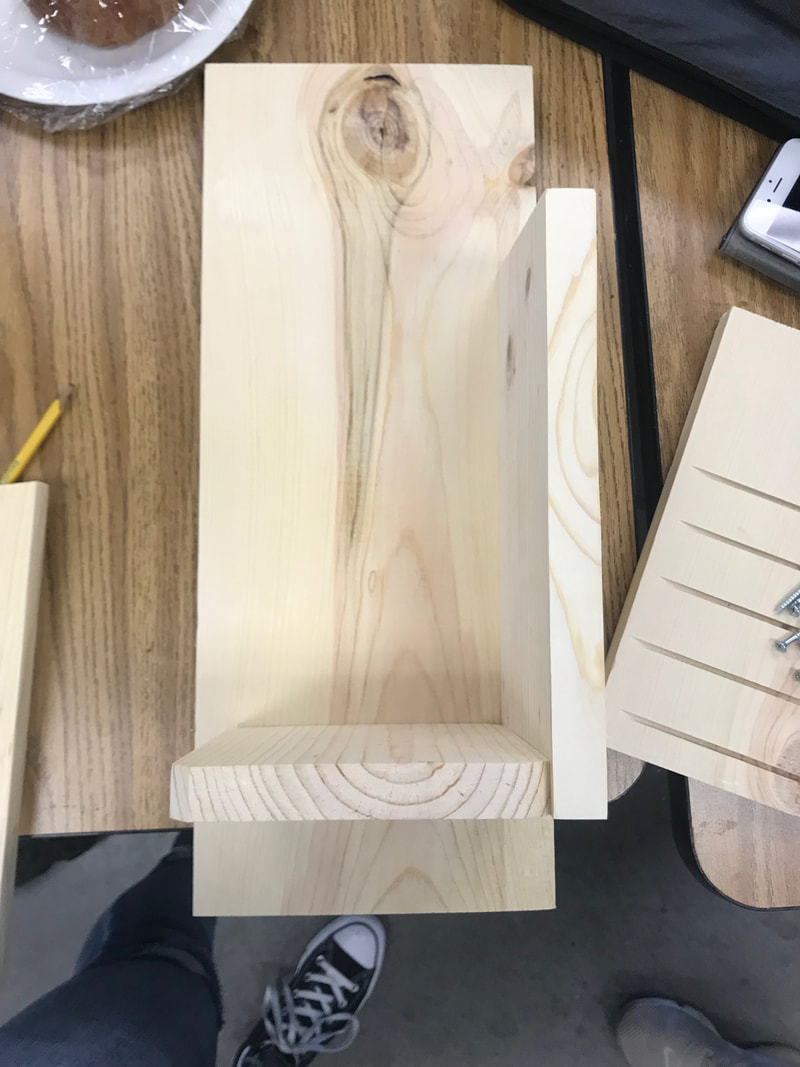
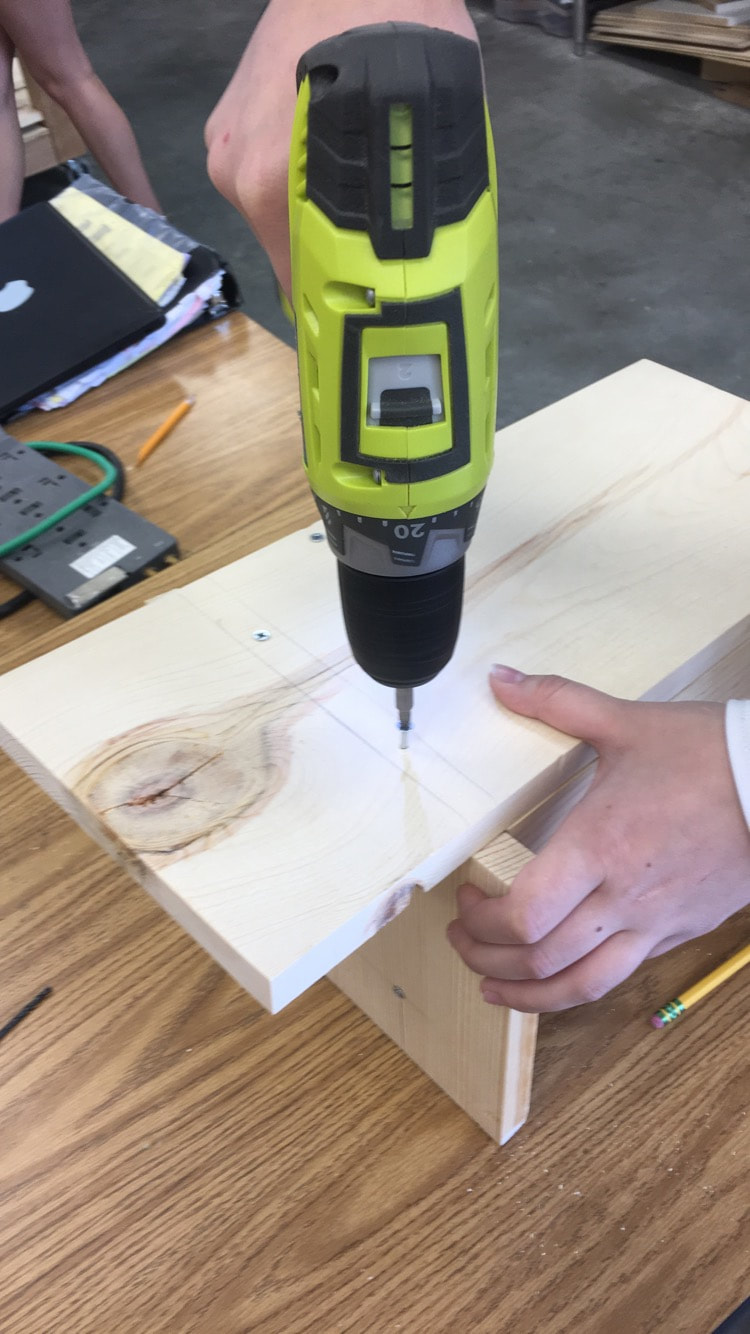
We started by putting the bottom base and the right side piece together. Only drill the right side piece.
There should be two pilot holes where the nails are. Once the pilot holes are done, drill the screws in its places. The picture below also shows the 3 inch line from the bottom where the bird house starts.
There should be two pilot holes where the nails are. Once the pilot holes are done, drill the screws in its places. The picture below also shows the 3 inch line from the bottom where the bird house starts.
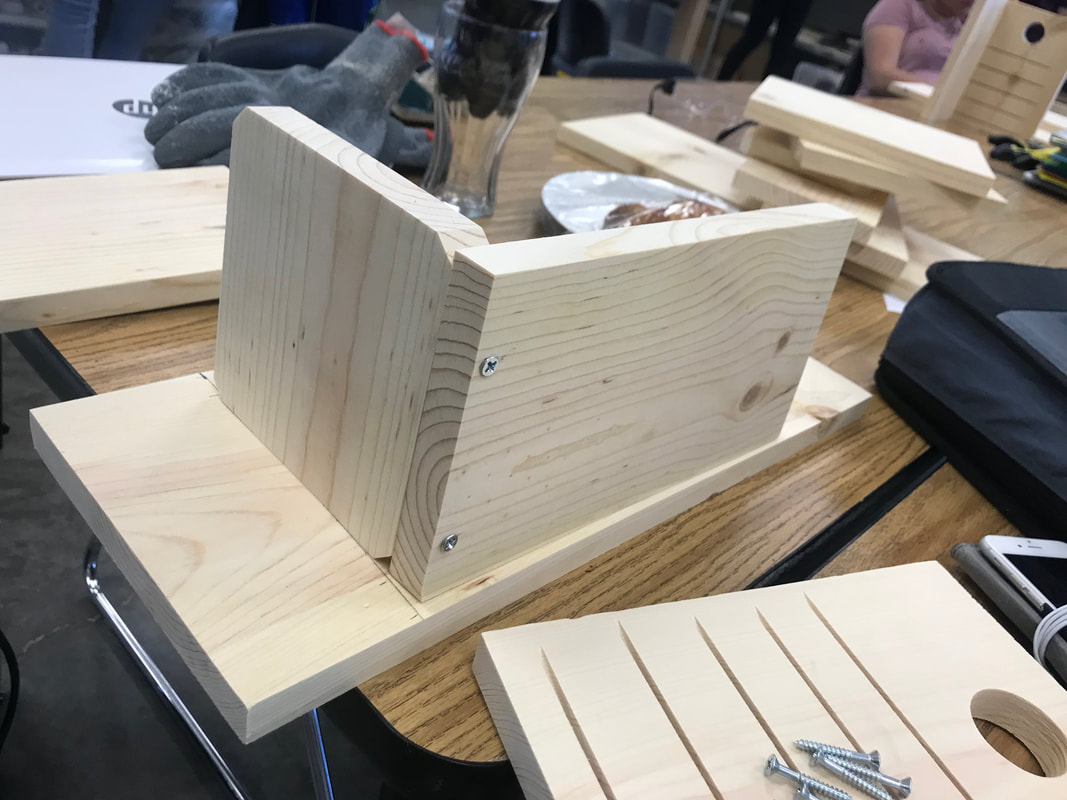
The next step was to drill the front piece to the top of the right side piece and bottom piece. You will place the bottom and side piece on the table normally with the angle You will then put the bottom piece down on it.
Click on pictures to view full image.
Click on pictures to view full image.
|
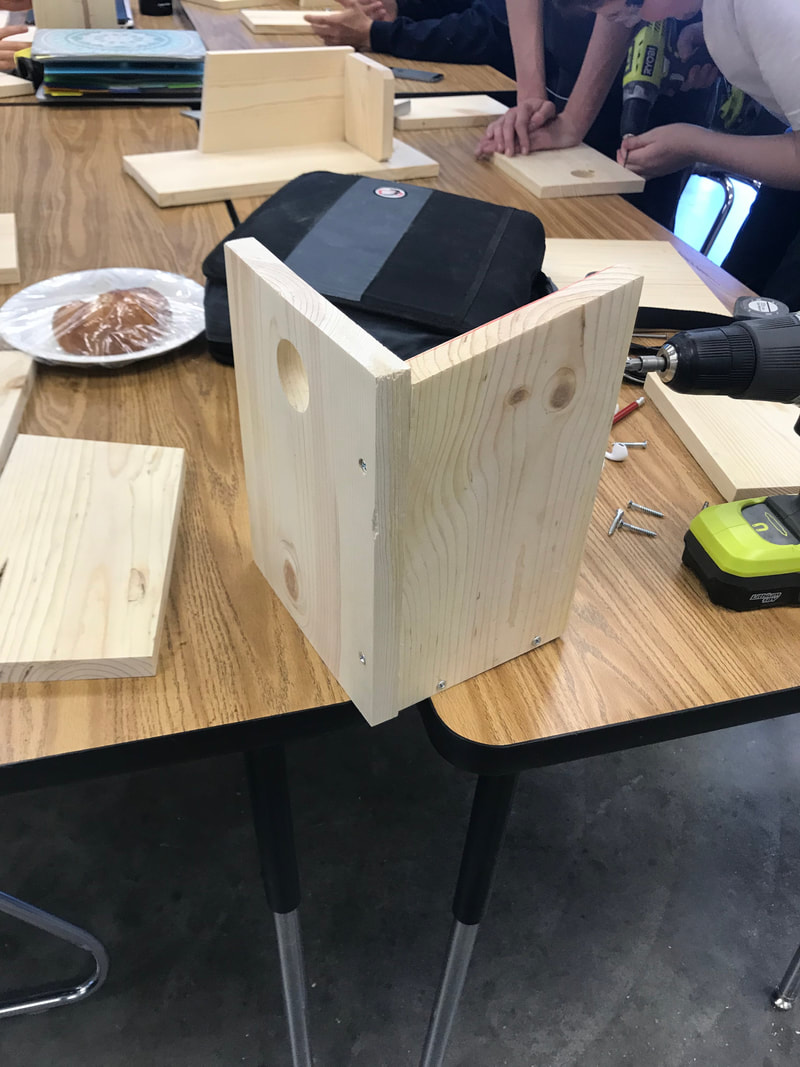
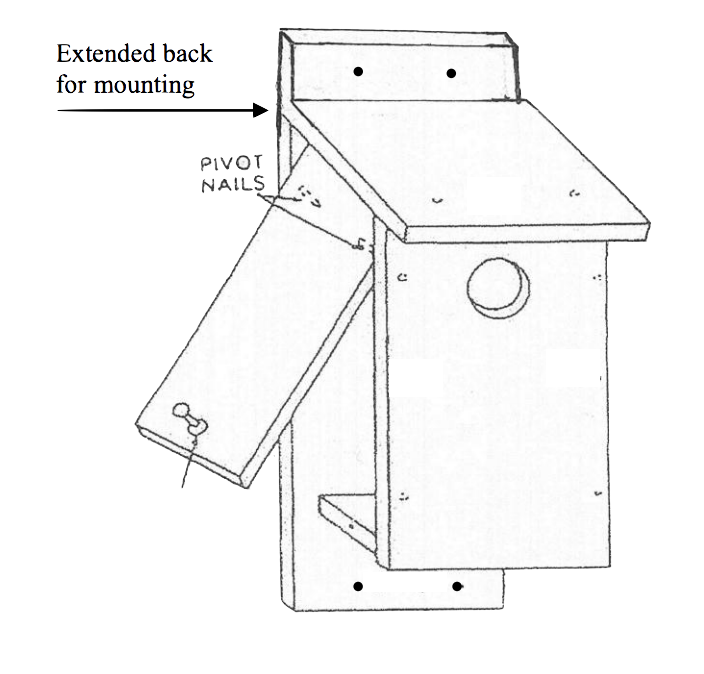
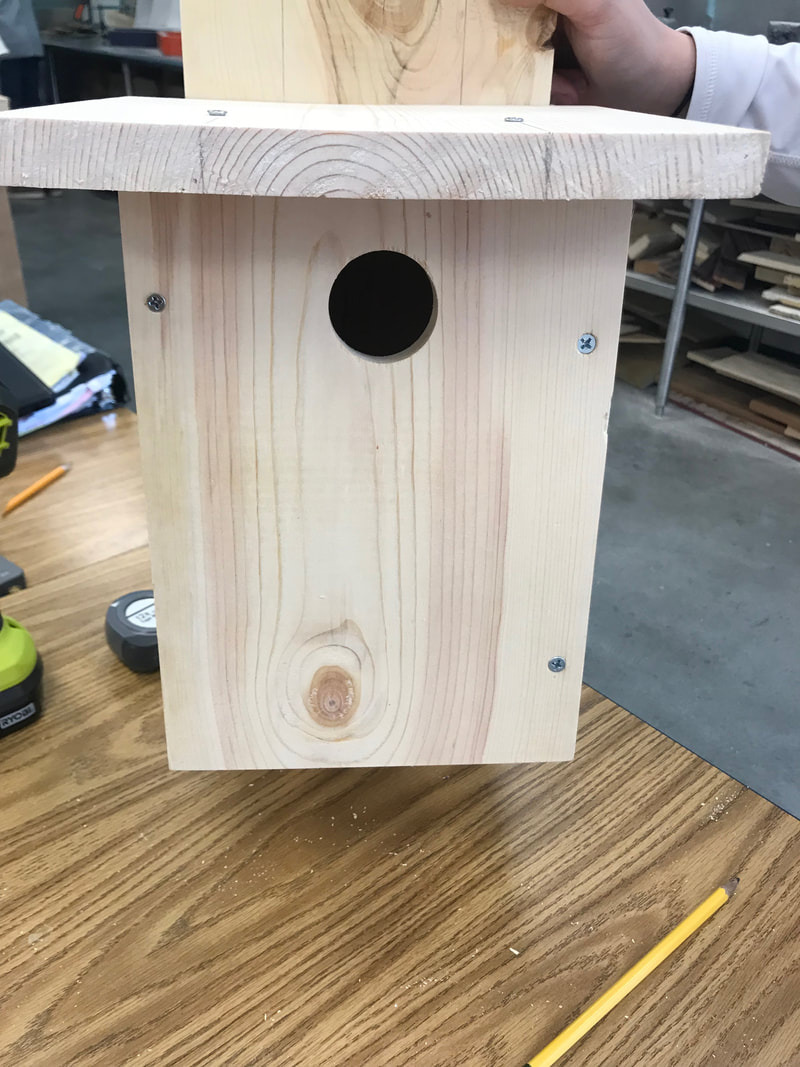
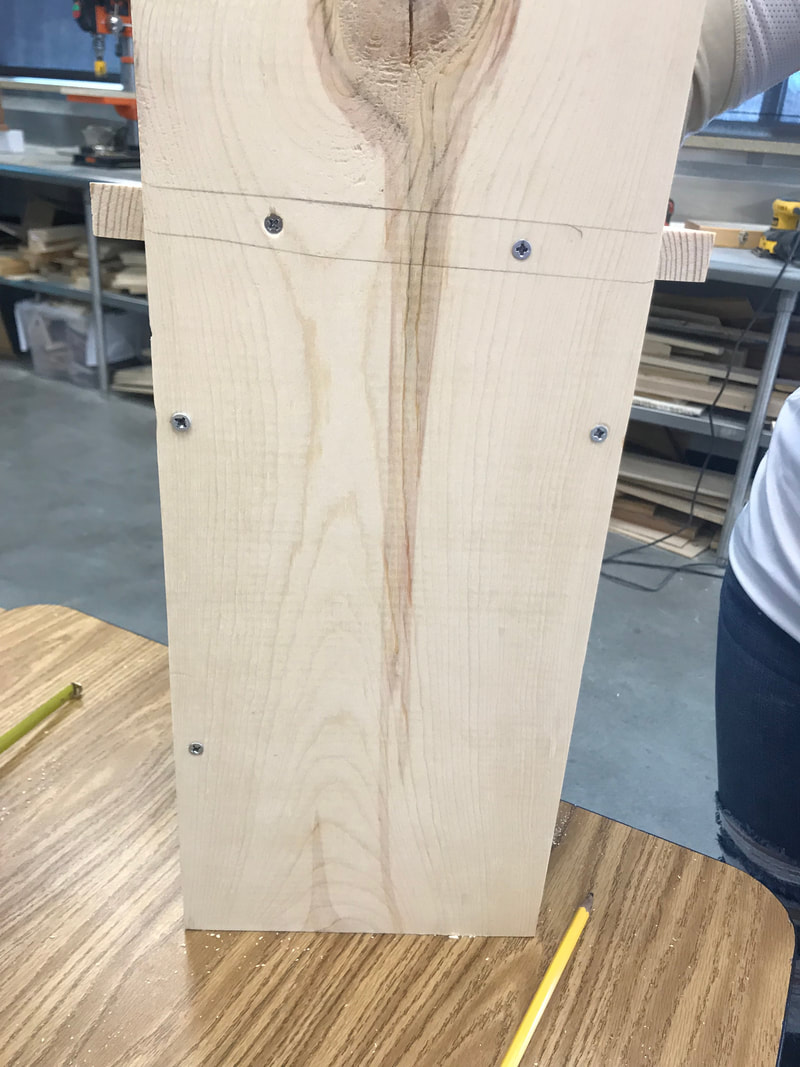
The next step is going to be the harder step. The left side piece (show to the right) of the bird house should have two pilot holes at the same height for easy access. Here is an image where the pivot nails should be for better access. This is a side swing used for easier monitoring or cleaning. On this left piece, there will not be any screws or pilot holes at the bottom. On the front side on the bird house, measure 8 " up from the bottom and make a mark. This is where your first pilot hole should be. The line the side piece up with the front and back pieces of the bird house. Measure 11 " up from the bottom of the back piece and make a mark. Then use a square ruler to make sure that the pilot holes match up evenly. If they do not match up evenly, your door will not be able to swing right. Once your markings are made, you can drill the pilot holes on the front side of the piece. This will be the first screw you put in.
|
|
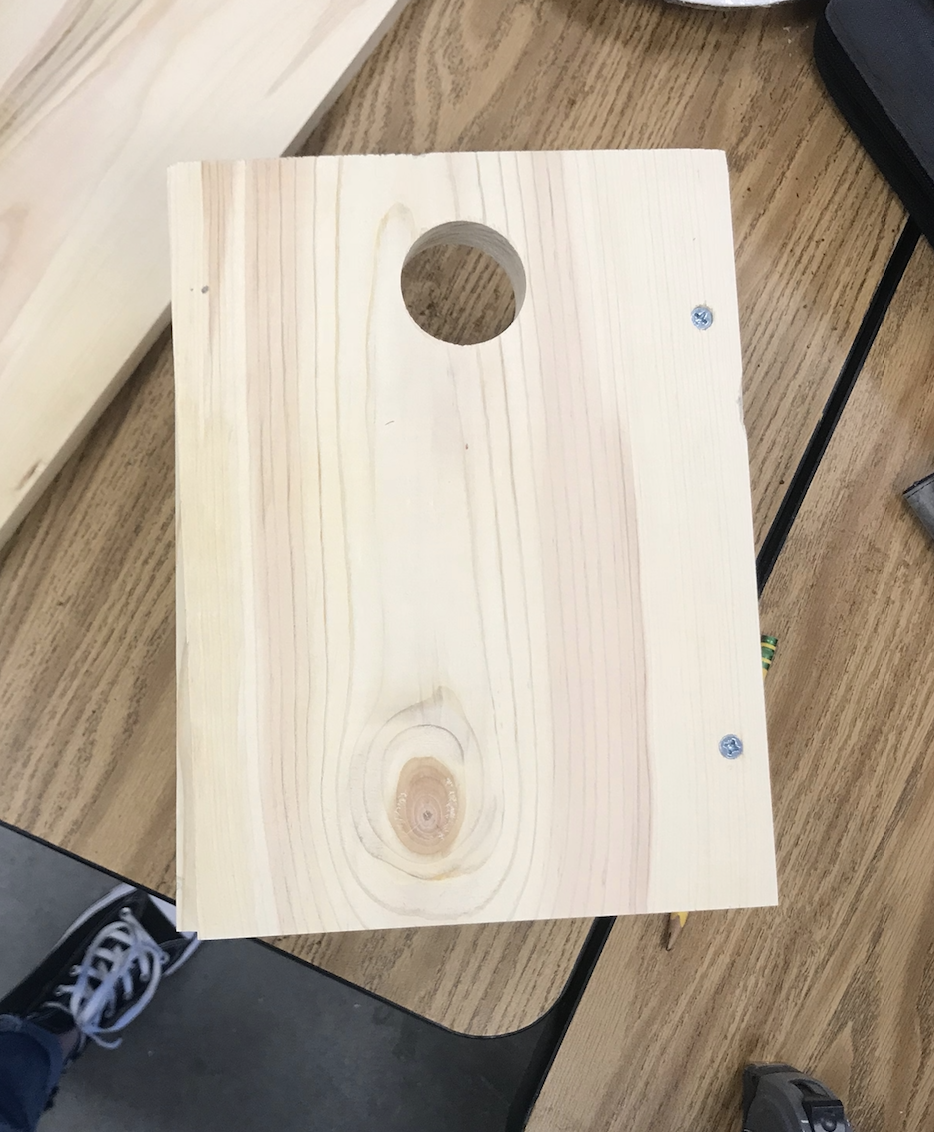
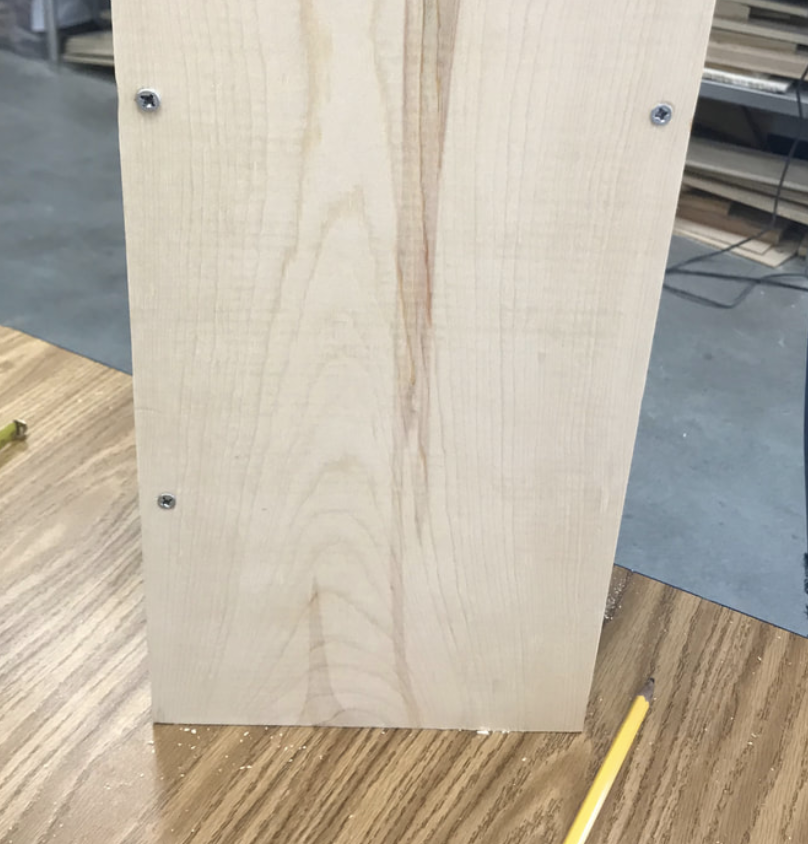
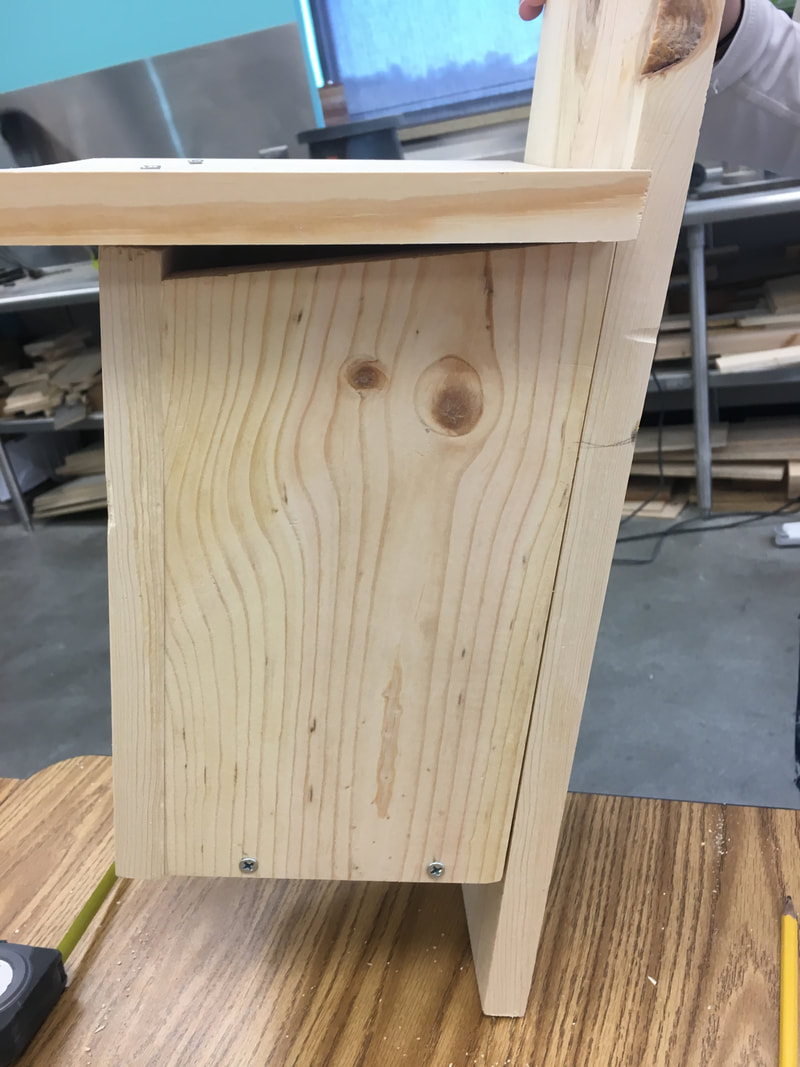
Once the side pieces are drilled to the front piece, the next step is to add the back piece to the wood. Start by lining up the pieces and where the pilot hole was drawn on the side with the swinging door. The top pilot hole will be 11" from the bottom of the back piece, where your one pilot hole is already drawn. Line that pilot hole up with the other side. On the side of the bird house where there will not be a swinging door, drill another pilot hole about 5" (not approximate) from the bottom of the back board. There should be only three pilot holes on the back of your board during this step. Once all pilot holes are made, continue to drill in the screws.
Click on pictures to view full image.
Click on pictures to view full image.
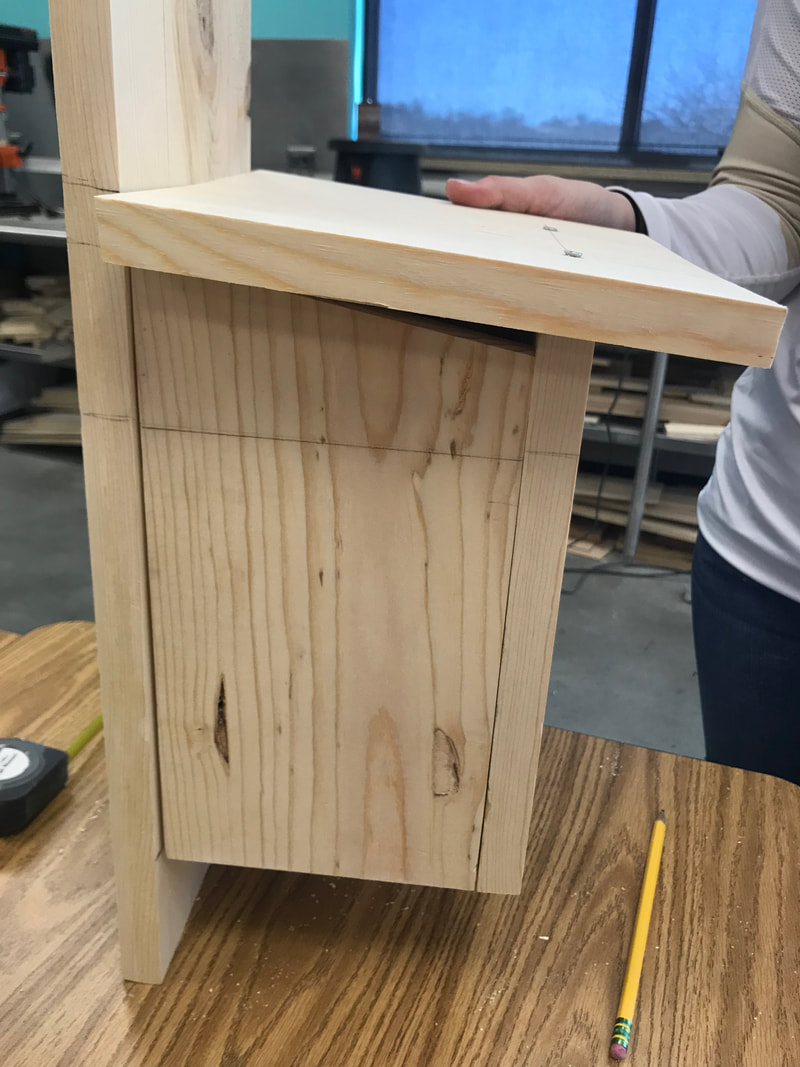
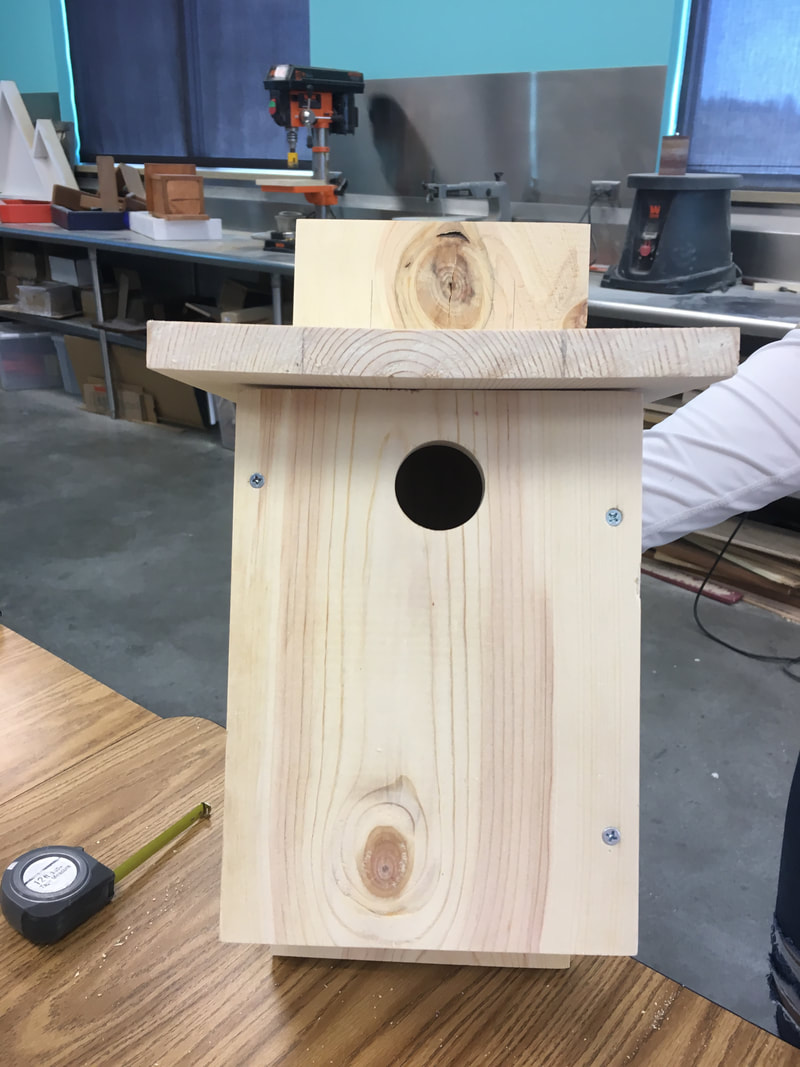
The last step to building your bird house will be placing the top piece of the bird house. There are two parts to drilling on the top piece. The first step is to place your top piece on the bird house an even it so that hangover on the sides is the same length. If you feel that your piece will move once you have done this, make small lines where the hangover starts. Once that is done, draw two pilot holes on top of where you front piece is (example is the third picture below). The next step is to turn to the back side, and draw markings for your pilots holes where the backboard will reach the top. Our middle picture below shows us drawing where the top piece is on the front and where it would line up in the back. We based out pilot holes off of that. One your pilot holes are draw, you can drill them in. I would start by drilling the screws to on the front side and finish with drilling in the screws on the back.
Click on pictures below to view full image.
Click on pictures below to view full image.


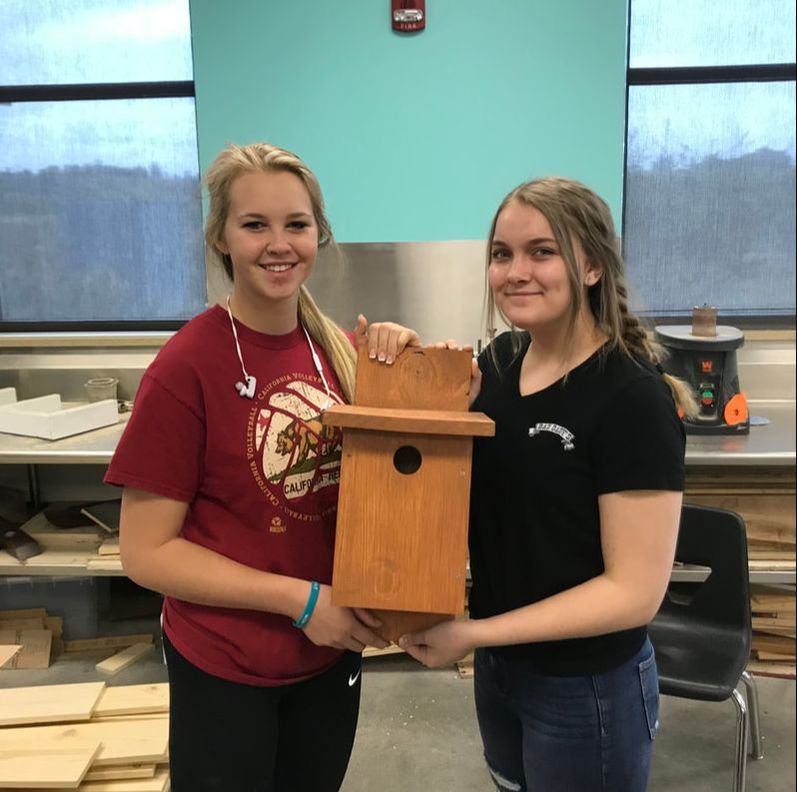
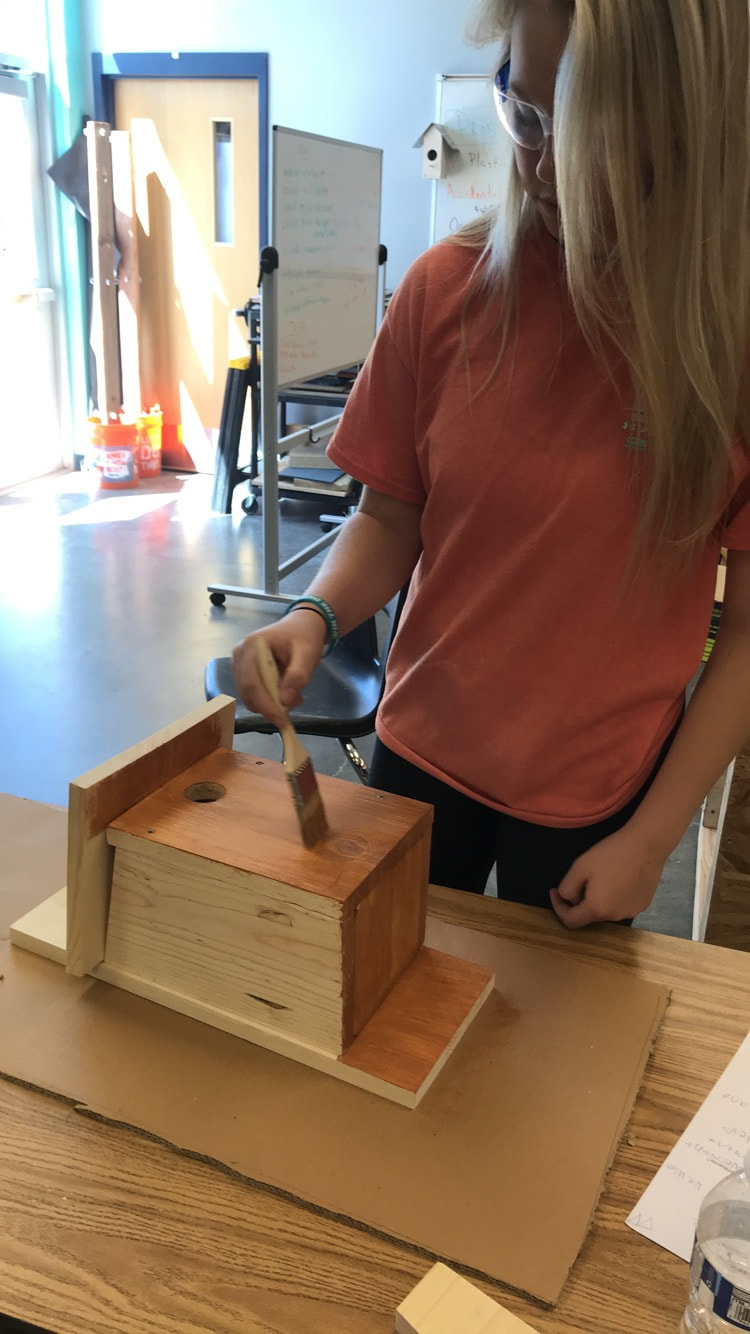
You have now finished building the bird house! Below is our finished bird house for reference. The next step is to paint.
Click on pictures below to view full image.
Click on pictures below to view full image.

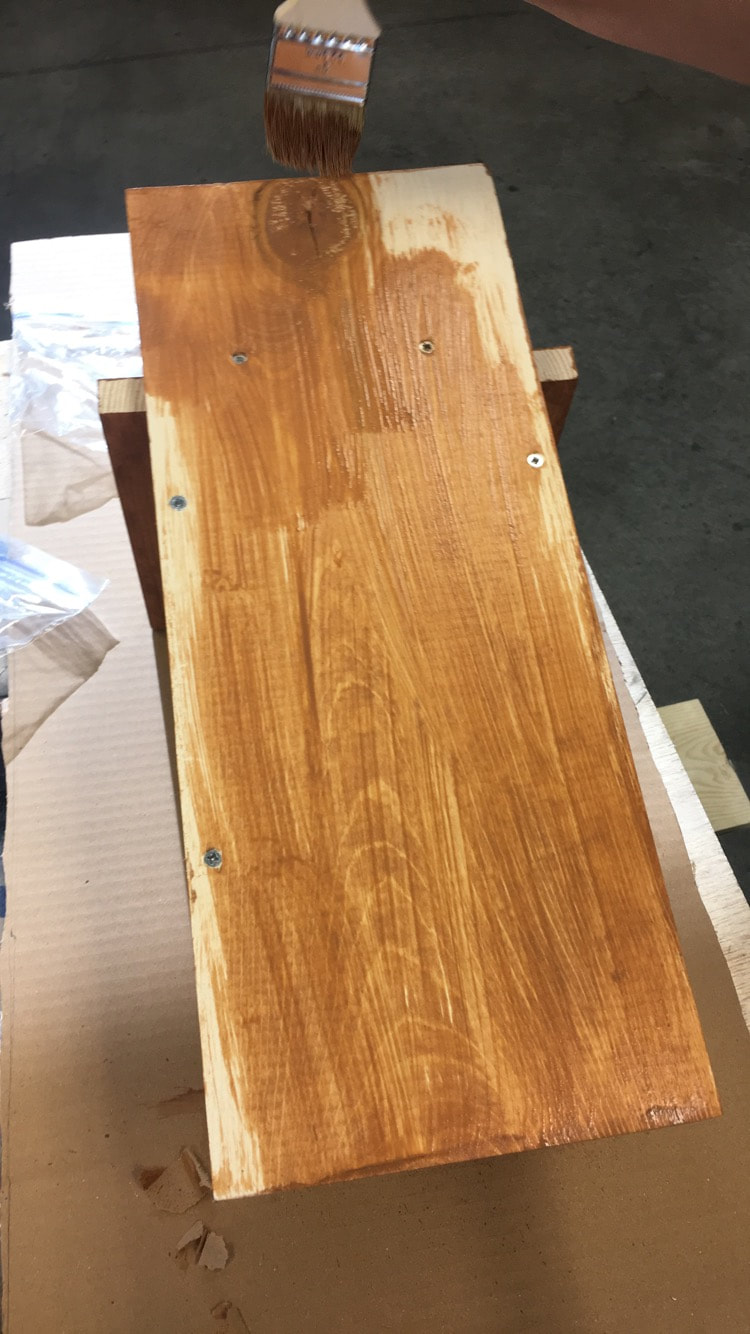
Painting/Staining
When painting your bird house you should only paint the outside of it. However, there are a variety of color options to choose from. Your paint can be light, neutral colors, stain or clear sealer may also be applied.
Click on pictures below to view full image.
Click on pictures below to view full image.
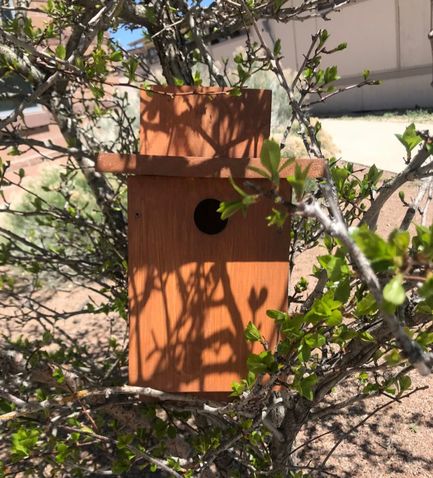
Finished Product